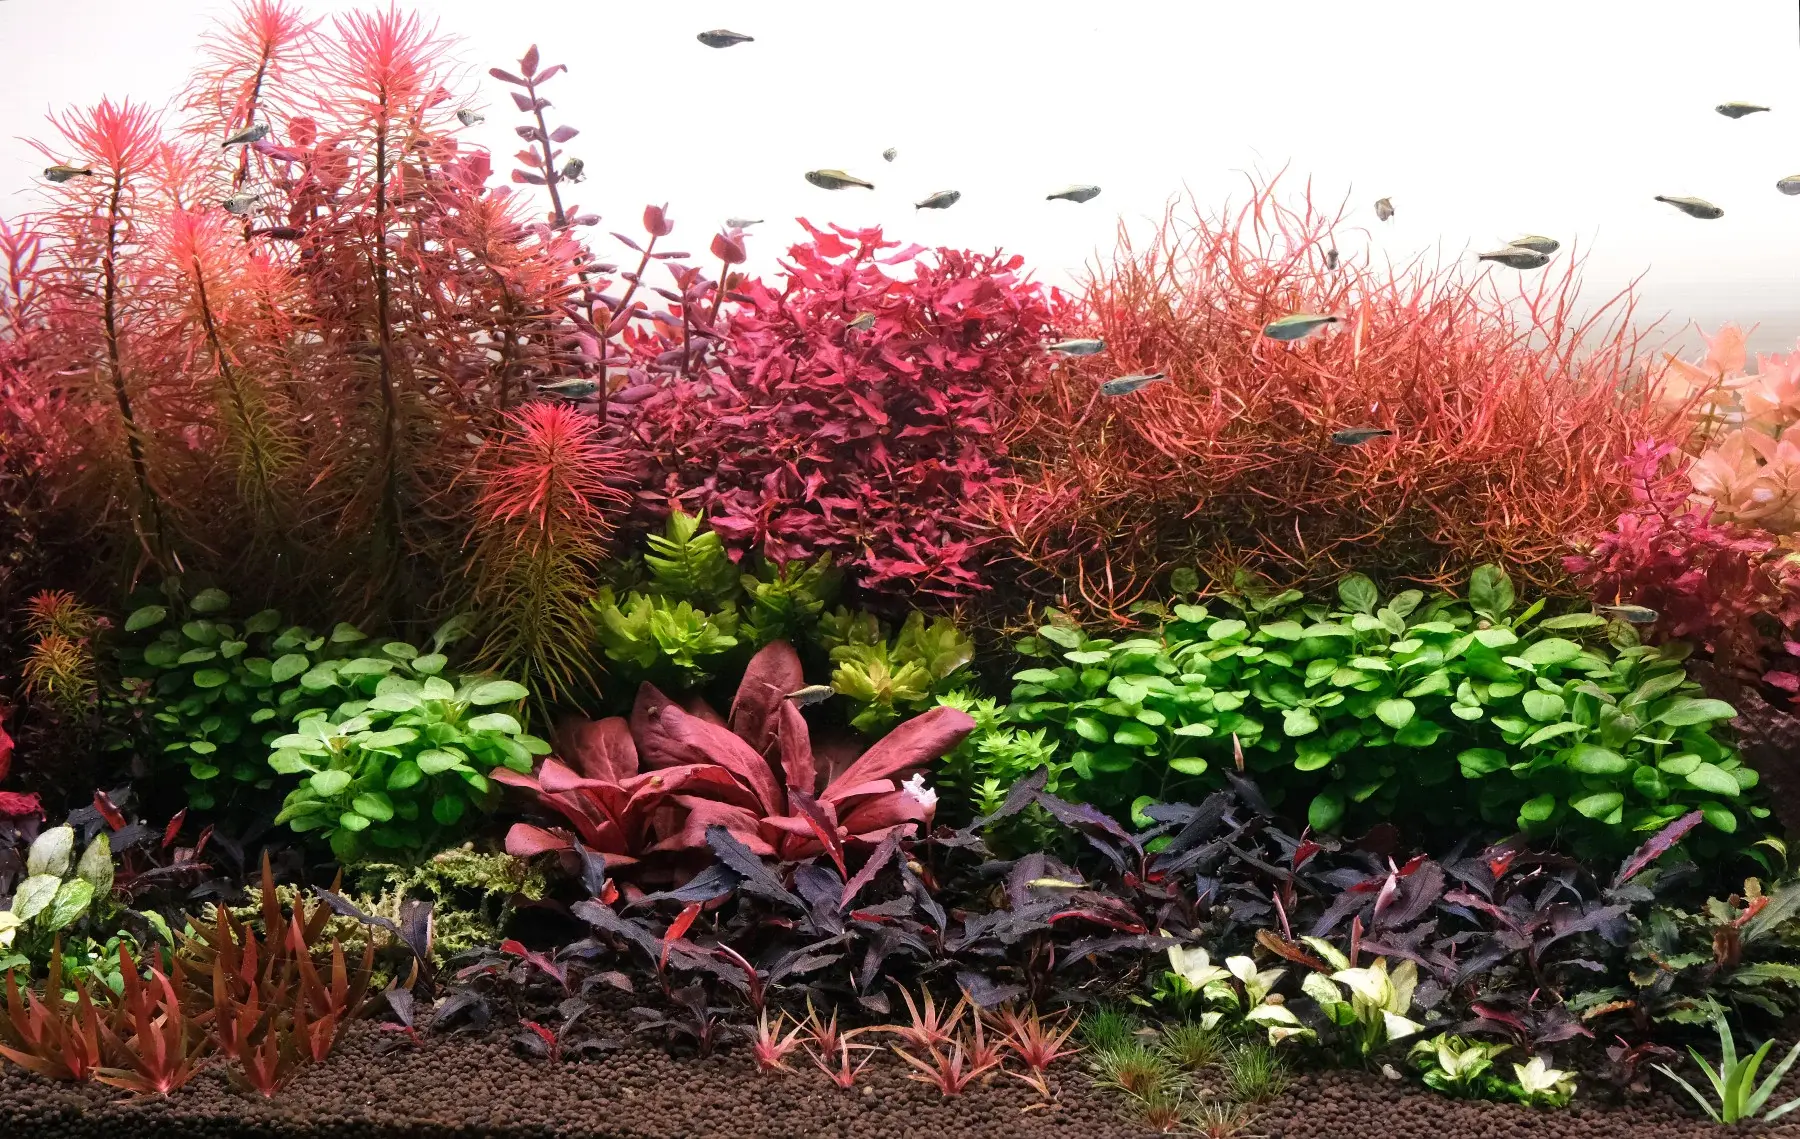
Why plants want CO2 in the first place
Carbon is the main building material of a plant. When your aquarium plants photosynthesise, they take carbon dioxide out of the water and turn it into new leaves, stems and roots. Light provides the energy and fertiliser provides the minerals, but carbon is the substance the plant is actually built from — and in a typical aquarium, it is the ingredient in shortest supply.
Only a little CO2 dissolves into tank water from the air on its own. That trickle is enough for slow, undemanding growth, which is why easy plants survive in low-tech tanks. But add brighter light and the plants try to grow faster, run out of carbon, and stall. Injected CO2 removes that ceiling: growth speeds up, carpets spread instead of sitting still, and healthy plants shade out and outcompete algae.
On a good day you can see the result directly — fine streams of oxygen bubbles rising from the leaves, a behaviour called pearling. But CO2 only helps when the other two legs of the stool are in place: adequate light, and enough fertiliser to feed the faster growth; our planted tank fertilizer guide covers the nutrient side.
Your options: pressurized, DIY, liquid carbon — or none
There are four realistic ways to handle carbon, and none of them is wrong — they suit different tanks and different levels of patience.
- Pressurized CO2 — gas from a refillable cylinder, metered by a regulator. This is the only method that can reliably hold a target like 30 ppm, and the only one you can switch off automatically at night. It is the standard this guide is built around.
- DIY CO2 — yeast-and-sugar bottles or citric-acid kits that generate gas chemically. Cheap to start, genuinely useful on small tanks, but the output drifts and cannot be timed precisely. Assessed honestly in its own section below.
- “Liquid carbon” products — bottled supplements dosed daily. Despite the name, these are not liquid CO2 and cannot raise dissolved CO2 to injected levels — a supplement for easy plants, not a substitute for a gas system.
- No added carbon at all — a low-tech tank with modest light and undemanding plants. Growth is slow but the system is simple and stable. If that sounds more your speed, start with our low-tech planted tank guide and upgrade later only if you outgrow it.
What a pressurized system consists of
A pressurized setup looks complicated in photos but is really a chain of simple jobs: store the gas, tame its pressure, switch it on and off, fine-tune the flow, dissolve it, and measure the result. Here is every part in the chain, in order from cylinder to tank.
| Part | What it does |
|---|---|
| Cylinder | Stores CO2 as a liquid under high pressure. Refillable steel or aluminium bottles are the norm; when it finally runs empty you refill or swap it rather than replacing the system. |
| Regulator | Screws onto the cylinder and drops the pressure to a steady, usable working pressure. Most have two gauges: one shows how much gas is left, the other shows the working pressure heading to the tank. |
| Solenoid | An electric valve built into or attached to the regulator. Plugged into a timer, it opens the gas in the morning and shuts it off at night — the part that makes the system automatic. |
| Needle valve | A very fine adjustment screw that meters the flow. This is the control you will actually touch when tuning the system; small movements make big differences. |
| Bubble counter | A small water-filled chamber the gas bubbles through — a visual reference for the flow rate, and a repeatable setting on your own system, but not a measurement. |
| Check valve | A one-way valve in the airline. When the system shuts off at night, it stops tank water siphoning back down the tube toward the regulator. |
| CO2-resistant tubing | Ordinary silicone airline slowly leaks CO2 through its walls. Purpose-made CO2 tubing (usually polyurethane) keeps the gas in the pipe. |
| Diffuser | Breaks the gas into a fine mist so it can dissolve. In-tank ceramic diffusers sit low in the tank for the longest bubble rise; inline atomizers hide in the filter hose. |
| Drop checker | Your measuring instrument: a small glass vessel of indicator fluid that changes colour with the CO2 level. Everything you adjust is judged by this, not by the bubble count. |
Assembly is mostly hand-tightening and pushing tubing onto barbs. Before first use, mist every joint with soapy water and watch for growing foam — that is a leak, far easier to fix now than after a week of mysteriously poor growth.
The target: around 30 ppm, and how to know you are there
Ask ten experienced aquascapers what CO2 level to run and most will give you the same answer: around 30 ppm (mg/L) during the light period. Most published guidance puts the healthy working band at roughly 20–30 ppm — below about 15 ppm plants slow down and algae gains the upper hand, while up around 35–40 ppm and beyond, fish begin to struggle. Thirty is the widely used target because it sits at the top of the safe band: maximum growth with a margin still left for your livestock.
The pH/KH formula — and why it misleads
CO2, pH and carbonate hardness (KH) are linked by a well-known relationship: CO2 (mg/L) ≈ 3 × KH (dKH) × 10^(7 − pH). So at KH 4, a pH of 6.6 works out to about 30 ppm. You can try it yourself with our CO2 calculator on the homepage.
The catch: the formula is only valid when carbonate is the only buffer in the water and CO2 is the only acid — and real aquarium water fails both conditions. Phosphate-based additives inflate KH readings, and tannins from wood and decaying leaves push pH down without any CO2 being involved. Applied to tank water, the chart almost always overstates CO2 — treat any calculated number as a rough sketch, never the truth.
The drop checker: the measurement you can trust
The workaround is elegant. A drop checker holds a small sample of reference water made to exactly 4 dKH, sealed away from the tank by an air gap. CO2 gas crosses the gap and dissolves into that clean fluid, whose pH then reflects CO2 and nothing else. At 4 dKH, 30 ppm of CO2 brings the fluid to pH 6.6 — the exact point where the bromothymol blue indicator turns green. Lime green means you are around 30 ppm. How the colours map to ppm, why the checker takes about two hours to respond, and how to use it day to day is covered in full in our drop checker and bubble-rate guide.
A second cross-check: the 1-point pH drop
Many experienced keepers sanity-check the checker with pH readings. Let a cup of tank water sit out and degas, then measure its pH — that is your baseline. At peak CO2 in the tank, a pH roughly 1.0 point below that baseline corresponds to about 30 ppm. If the checker and the pH drop agree, you can stop fiddling and enjoy the tank.
Timing: CO2 follows the lights
Plants only consume CO2 while they are photosynthesising, so injection should bracket the light period — with a head start. CO2 dissolves slowly, and a tank started at lights-on would spend its first hours under-fed. The standard schedule used by most planted-tank keepers:
- Solenoid on a timer, opening 1–2 hours before the lights. By lights-on, the level is already at target; large tanks may need the longer end of that window.
- Off about 1 hour before lights-out. The dissolved CO2 remaining in the water carries the plants through the last hour, and levels then fall away overnight.
- A light period of around 8 hours is typical for an injected tank. If you run a short day of 6 hours or less, simply run the CO2 for the whole light period rather than trimming both ends.
What matters most is that the pattern repeats identically every day — a timer delivers that rhythm, and human memory does not.
Surface agitation and oxygen at night
At night the whole tank breathes in the same direction: plants stop photosynthesising and join the fish and filter bacteria in consuming oxygen and releasing CO2. That is why the solenoid shuts the gas off — injecting all night wastes gas and can push levels into the danger zone by morning.
Your other lever is the water surface. A gentle, continuous ripple keeps gas exchange healthy in both directions — excess CO2 escapes, oxygen dissolves in — and prevents the oily biofilm that can seal a still surface. Aim for visible movement, not a waterfall: violent splashing drives off the CO2 you are paying to inject. A steady ripple, all day, every day.
This is also your emergency tool. If fish are ever gasping at the surface, the fastest relief is more gas exchange: raise the filter outlet or add an airstone while you deal with the cause (see Safety, below).
DIY CO2, honestly assessed
DIY systems generate CO2 chemically instead of storing it in a cylinder. The two common recipes are yeast fermenting sugar water, and citric acid reacting with baking soda in a sealed kit. Both genuinely work — many lovely small tanks run on them — but you should choose them with your eyes open.
What DIY does well: the upfront cost is a fraction of a pressurized kit, the parts are available anywhere, and on a small, modestly lit tank the output can be entirely sufficient for easy and medium-demand plants.
Where it struggles:
- Output drifts. A yeast mix surges when fresh, then fades over days as the mix exhausts itself. Citric-acid kits are steadier but still taper as the reactants are used up. Remember that fluctuating CO2 is a classic algae trigger — the thing DIY does worst is the thing plants care about most.
- No clean shut-off. The reaction keeps producing gas at night. Closing a valve on a sealed DIY bottle lets pressure build up, so most DIY setups simply run around the clock and accept the waste and the night-time levels.
- Coarse control. There is no precision needle valve metering a pressurised supply; output is whatever the chemistry is doing today.
Our honest verdict: DIY is a fine way to learn what CO2 does for plants, and a reasonable permanent choice for a small low-demand tank. But the moment you chase a carpet, strong light, or a precise 30 ppm, you have outgrown it.
Safety basics
CO2 itself is not exotic — it is the gas in fizzy drinks — but it is stored under pressure and it displaces oxygen in water, so a handful of habits keep the system boring in the best way.
- Secure the cylinder upright. A cylinder that falls and damages its valve is genuinely dangerous. Keep it upright, strapped or in a stand, out of walkways.
- Never open the cylinder valve without the regulator attached, and open it slowly once fitted. Check joints with soapy water for leaks before first use.
- Adjust in small steps, over days. Nudge the needle valve a little, then wait a full day before judging the drop checker. Stacking several increases in one afternoon is how fish get gassed.
- Let livestock overrule the instruments. Fish gasping at the surface, hanging by the filter outflow, or shrimp trying to climb out mean too much CO2 now — whatever any gauge says. Turn the gas down or off immediately and increase surface agitation or add an airstone. The drop checker lags about two hours behind reality; your fish do not.
- Keep the cylinder cool and the solenoid on a timer. Heat raises pressure, and the timer removes the single most common accident: forgetting to turn the gas off at night.
What it costs, roughly
We would rather describe the shape of the cost than quote prices that drift by country and month. DIY is the cheapest way in by a wide margin — mostly containers and kitchen ingredients. A pressurized system costs noticeably more upfront, and almost all of that money sits in two parts: the regulator and the cylinder. Everything downstream of them is small change by comparison.
Running costs reverse the picture: a cylinder lasts a long time between refills on a small or medium tank, and a refill is a minor expense, so the pressurized system is usually the cheaper one by year two. Buy the regulator for the long term — it is the one component where cheap versions genuinely cause grief, drifting and sticking in ways that put livestock at risk.
Beginner mistakes that cause most of the trouble
- Cranking the bubble rate on day one. The drop checker takes about two hours to respond, so impatient owners add gas on top of gas and overshoot badly by evening. Start low; tune over a week.
- Judging by bubbles per second. Bubble size differs between counters, so another keeper's rate tells you almost nothing about your tank. The checker is the judge — see the bubble-rate and drop checker guide.
- Running CO2 24 hours a day. Wasteful, risky overnight, and pointless: plants only use it in the light.
- Changing the rate daily. Plants respond to stability. Make one small change, wait, observe, then decide.
- Ignoring distribution. A perfect reading next to the diffuser means little if the far corner is starved. Place the diffuser where the filter flow carries the mist across the tank, and use a gentle whole-tank circulation.
- Adding CO2 to fix a light or nutrient problem. If plants are starved of fertiliser or the light is wrong, more carbon will grow algae, not plants. Balance all three legs of the stool.
- Skipping the timer “just for now.” Forgotten manual shut-offs are the leading cause of gassed fish. The timer is not an accessory; it is part of the system.
Get the basics in this guide right — a steady 30 ppm, on a timer, with a gentle surface ripple — and CO2 stops being the intimidating part of the hobby. It becomes the part where the tank visibly rewards you every single week.