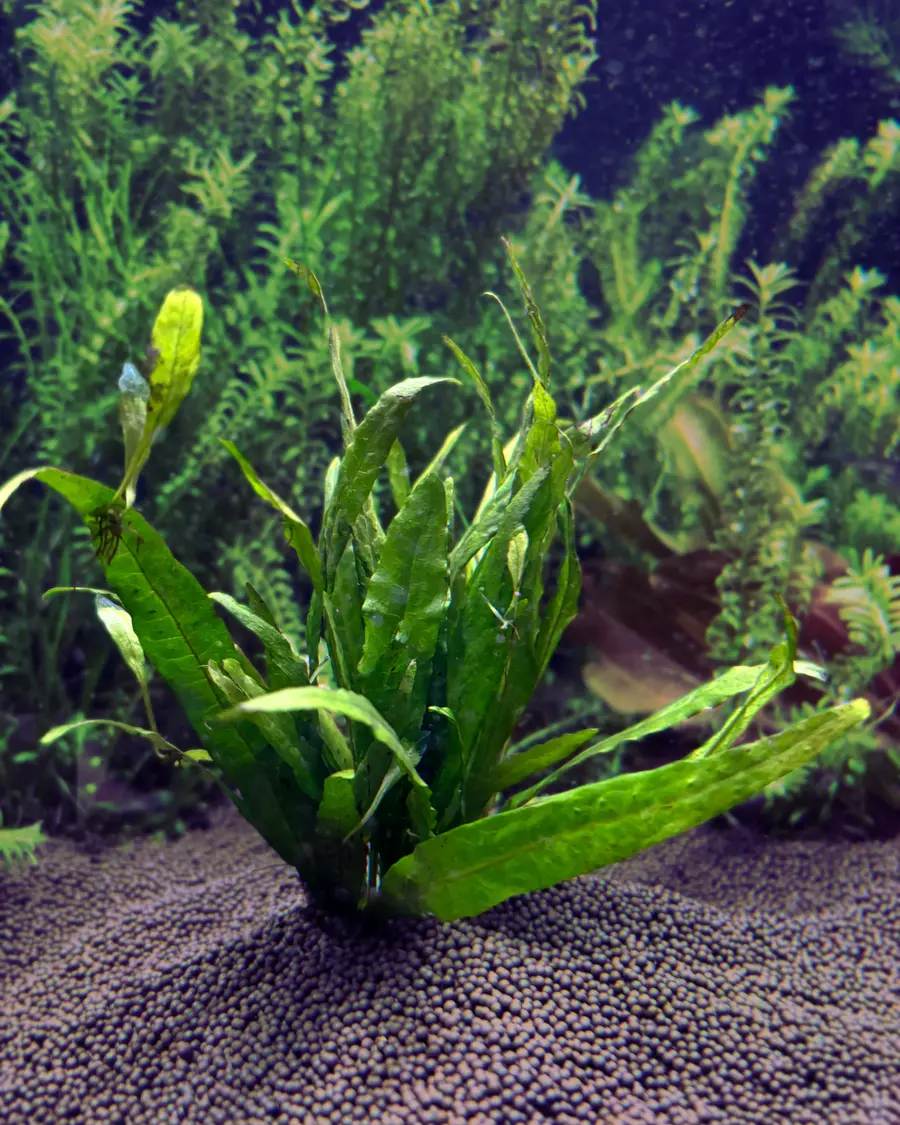
A tiny hole in a leaf looks simple to diagnose. Search for it and you will be told, confidently and repeatedly, “potassium.” Sometimes that answer is right. But a pinhole is not a test result—it is the final stage of tissue dying in a particular pattern.
What the classic pinhole pattern looks like
Potassium-related damage usually begins on older, fully formed leaves rather than the newest growth. You may first notice small pale or yellow spots, often near the margin or scattered through the blade. The center of a spot loses color, turns tan or brown, and dies. Once that dead center breaks or decays away, a neat little hole remains. This is why the symptom is called a pinhole: the leaf does not start with an open hole; it starts with a tiny patch of failing tissue.
As the shortage continues, the rim around each hole may stay yellow or become brown and brittle. Holes enlarge, neighboring spots merge, and the leaf edge can look scorched or ragged. The plant may keep producing reasonable new leaves for a while because potassium is mobile: the plant pulls it from older foliage to protect new growth. That recycling is useful for the plant, but it means the oldest leaves become the billboard for a problem that began earlier.
Why potassium is the usual suspect
Potassium is a macronutrient involved in enzyme activation, photosynthesis, protein synthesis and the movement of water and sugars inside the plant. The 2Hr Aquarist lists yellowing, pinholes and brittle leaves among common potassium-deficiency symptoms, and planted-tank references from retailers and aquatic plant specialists repeat the same older-leaf pattern. Potassium is also easy to run short in an aquarium. Fish waste and uneaten food return nitrogen and phosphorus to the water, but they do not reliably return enough potassium. A fertilizer that is strong on trace elements yet lean on potassium can leave this gap open.
Many planted-tank references place potassium in a broad working range around 10–30 ppm in the water, but do not treat that as a pass-or-fail line. Hobby potassium testing is uncommon, uptake varies with plant mass and light, and a symptom cannot tell you an exact concentration. The practical point is consistency: plants need a dependable supply, not a large rescue dose followed by another gap. If your routine has been “a splash when I remember,” potassium deserves to be near the top of the suspect list.
Still, this is where honest diagnosis matters. The 2Hr Aquarist warns that deficiency charts oversimplify aquatic plant problems and that pinholes in older leaves can also be caused by poor or unstable CO2. If you want the feeding framework behind a correction, start with our planted tank fertilizer guide, then use the checks below before singling out potassium.
First alternative: CO2 that is too low or unstable
Carbon is the nutrient plants use in the greatest quantity. In an injected tank, a low average CO2 level is only one problem; a level that swings during the light period can be just as stressful. Plants must constantly adjust the machinery they use to capture carbon. When supply changes, older tissue may deteriorate, new leaves can emerge smaller or twisted, and algae often gains a foothold on weakened leaves.
Suspect CO2 when holes appear alongside slow or stunted growth, distorted new leaves, black beard algae on slow-growing foliage, or a clear change after you altered the regulator, diffuser, surface agitation or light intensity. Also suspect distribution: the drop checker can look reassuring in one corner while a dense plant mass across the tank receives much less CO2-rich water.
Do not respond by cranking the bubble rate and walking away. Stabilize one setup at a time: clean the diffuser, confirm the timing, keep the injection pattern consistent through the photoperiod, and observe livestock carefully. Our guide to CO2 for planted tanks explains why a bubble count alone is not a measurement. If new growth becomes fuller and cleaner after CO2 stabilizes—without any fertilizer change—you have found strong evidence that potassium was not the whole story.
Second alternative: poor circulation and dead spots
Fertilizer and CO2 only help a leaf if the water carrying them reaches that leaf. Dense stems, hardscape and overgrown foreground plants can create pockets where flow barely moves. Debris collects there, oxygen exchange is weaker, and the leaves live in a different environment from the rest of the tank even though a test of the open water looks fine.
The clue is geography. If damage is concentrated behind a rock, under a thicket or on the side farthest from the filter outlet—while the same species looks clean in open flow—look at circulation before supplements. The 2Hr Aquarist specifically connects gradual flow reduction with poorer distribution of CO2, oxygen and nutrients. Watch the plants: most leaves should sway gently at some point in the flow pattern, and CO2 bubbles should not all take a shortcut to the surface in one corner.
Fix the path, not just the pump size. Clear a clogged intake, redirect the outlet, trim a plant mass that has become a wall, or move a obstructing piece of hardscape. A violent current is not the goal; even, tank-wide circulation is.
Other causes to rule out
Physical damage
A nutrient problem tends to begin as discoloration and tissue death. Mechanical damage often looks different: a clean tear, a crescent-shaped bite, a hole along a fold, or damage that appears suddenly after aquascaping, netting, filter maintenance or the addition of a plant-eating animal. Some livestock graze algae and decaying tissue rather than healthy leaves, so a hole can also be secondary—an animal removes tissue that was already dying.
Normal ageing of older leaves
Leaves are not permanent. The oldest, lowest leaves receive less light as the plant grows and may yellow, thin and be shed even in a healthy tank. Plants also abandon leaves formed for earlier conditions and replace them with leaves built for the current tank. Ageing damage is usually gradual and confined to the oldest foliage while new leaves remain full-sized and clean. That pattern is very different from rapid pinhole formation spreading across many mature leaves.
Another nutrient pattern overlapping
Magnesium shortage can yellow older leaves because magnesium is also mobile, often with pale tissue between greener veins. Severe nitrogen shortage tends to make older leaves broadly yellow and weak rather than producing only neat pinholes. These patterns overlap enough that “yellow plus holes” should not trigger a shopping list. If the whole leaf is fading rather than developing rimmed spots, compare it with the broader patterns in our guide to aquarium plants turning yellow.
Pattern table: read the holes before you dose
| What you see | Likely cause | First fix |
|---|---|---|
| Small spots on older leaves develop yellow or brown rims, centers drop out, edges become brittle | Potassium shortage | Make liquid feeding complete and consistent; add potassium separately only if the pattern persists. |
| Holes plus smaller or twisted new leaves, algae on old foliage, symptoms worsened after changing light or injection | CO2 too low or unstable | Stabilize injection, diffusion and timing through the whole light period; judge new growth. |
| Damage clustered in one sheltered area; debris collects there and leaves barely move | Poor circulation / dead spot | Clean the filter path, redirect flow and trim or rearrange the obstruction. |
| Clean tears or crescent-shaped missing pieces appearing suddenly, with little or no yellow halo | Physical grazing or handling damage | Observe livestock, protect tender growth and check whether tissue was already decaying. |
| Only the lowest, oldest leaves slowly yellow, thin and deteriorate while new growth is clean | Normal senescence or shading | Remove leaves that are mostly dead; improve light penetration by trimming upper growth. |
| Older leaves pale between veins or fade as a whole, sometimes progressing to tissue loss | Another mobile-nutrient problem, such as magnesium or nitrogen shortage | Use a complete fertilizer baseline rather than potassium alone, then reassess the new pattern. |
How to correct it safely
- Photograph the plant and mark the boundary. Note which leaves already have holes. Those leaves are history; your experiment is whether new leaves stay clean.
- Check the environment before the bottle shelf. In a CO2 tank, verify timing, diffuser condition and distribution. In every tank, check flow, overcrowding and whether damaged leaves are simply the oldest and most shaded.
- Restore a complete baseline. Dose a complete liquid fertilizer consistently according to its label. Rooted plants in inert substrate may also need root-zone feeding; the delivery routes are explained in the fertilizer guide. Do not alternate randomly between products every few days.
- Add potassium narrowly if the evidence still points there. If feeding has been consistent but classic older-leaf pinholes continue to form, use a potassium-only supplement at the label rate or add a measured potassium component to the routine. Broad references often work around 10–30 ppm potassium in the water, but dose by the product’s instructions and weekly rhythm rather than trying to force an exact test reading in one day.
- Change one thing, then wait. Give the routine 2–3 weeks when possible. Fast stems may respond sooner; Java fern and Anubias change slowly. Photograph the same plant under similar light so you are comparing tissue, not camera exposure.
- Stop escalating if new growth is clean. Old holes remaining in old leaves is not failure. Failure is new holes continuing to appear on leaves produced after the correction.
Avoid the “double everything” rescue. Doubling a complete fertilizer changes nitrogen, phosphorus, potassium, iron and traces all at once. If the tank improves, you learn little; if it becomes unstable, you still learn little—and you may trade a nutrient gap for an algae and maintenance problem. Small, traceable corrections are slower on day one and much faster over a month.
Why damaged leaves will not heal—and what to trim
A hole is missing tissue. The living cells around it may seal the edge and the leaf may continue photosynthesizing for a while, but the plant cannot weave the missing center back together. This is not a failure of fertilizer; it is how leaves work. Plants invest in replacement growth, not repairs to dead patches. That is why experienced aquarists judge CO2 and fertilizer changes by new leaves instead of obsessing over old ones.
Trim selectively. Remove a leaf when most of it is dead, shredded, translucent or covered with algae, or when it is collapsing onto neighboring plants. Cut the leaf stalk close to the stem or rhizome with clean scissors. On a rhizome plant, take the stalk—not a slice of the rhizome itself. On a stem plant, you can remove a badly damaged lower leaf, or cut above a healthy node and replant the healthy top if the whole stem has deteriorated.
Do not strip every imperfect leaf in one session. Leaves with a few stable holes may still be feeding the plant while replacements grow. Remove the worst tissue, keep the routine steady, and let the plant show you a clean new leaf. That new leaf—not a repaired old one—is the real sign that the missing piece of the puzzle has been found.